Showing posts with label Building Block Dress Book. Show all posts

Thursday, 4 March 2021

The Birthday Dress

My not-a-surprise birthday dress for A was to be as follows:

A dark grey T-shirt dress, with blue flutter sleeves and a Ravenclaw Hogwarts badge. She saw the fabrics (all stash) and designed the dress using the Oliver + S Building Block Dress Book, but I did paint the Ravenclaw badge in secret.

 
To make the dress I used the size 12 Building Block dress pattern. the only changes being that I sewed it in a bamboo jersey and omitted any opening.

I wrote a blogpost ages ago about doing just that on the Oliver + S blog. Here it is.


I probably overestimated how deep those sleeves needed to be, but they're statement flutter sleeves alright. The neckline and sleeves are finished with strips of knit binding.


Then the fun bit is painting the stencil.

I think I've created an animation of all the progress pictures. Let's see if I can add it here...


Sunday, 2 June 2019

Simple skirt gift

A friend of A's was having her birthday and she's one of the few kids that I try to always add a handmade gift when it's birthday time.

This skirt is super simple but came up looking really nice, I think. Although of course I should have ironed it before taking photos!


The skirt pattern is the skirt from the Building Block Dress Book, in size 6 with size 7 length (you guessed it, that's what I already had drafted)

I used my own tutorial for Oliver + S to sew an exposed elastic waistband : click on the picture below for the link


That version was in a knit, but it works just fine in a woven too. The skirt pattern being intended for a woven fabric. 

This gifted skirt was a fine teal/aqua check and might be a bit school uniform reminiscent if that was your colour. The fabric was from deep in the stash and I suspect came from a local Vietnamese fabric shop, the patterned elastic was from Eliza if I remember rightly and I found a little bit of miniature pom pom trim in my stash that matched the yellow in the elastic.


The hem is finished with an external facing and the pom pom trim was sewn to the raw edge of the facing before it was pressed under and stitched down. The external facing is also a technique covered in the Building Block Dress Book.

I rounded up the fabric and notions Thursday night and then sewed it up on Friday afternoon after a half day at work, for it to be gifted on Saturday. Cute and easy.

Tuesday, 2 October 2018

Simple elastic waist skirt tutorial

Hello, I've got a lovely, quick, easy tutorial over on the Oliver + S blog.

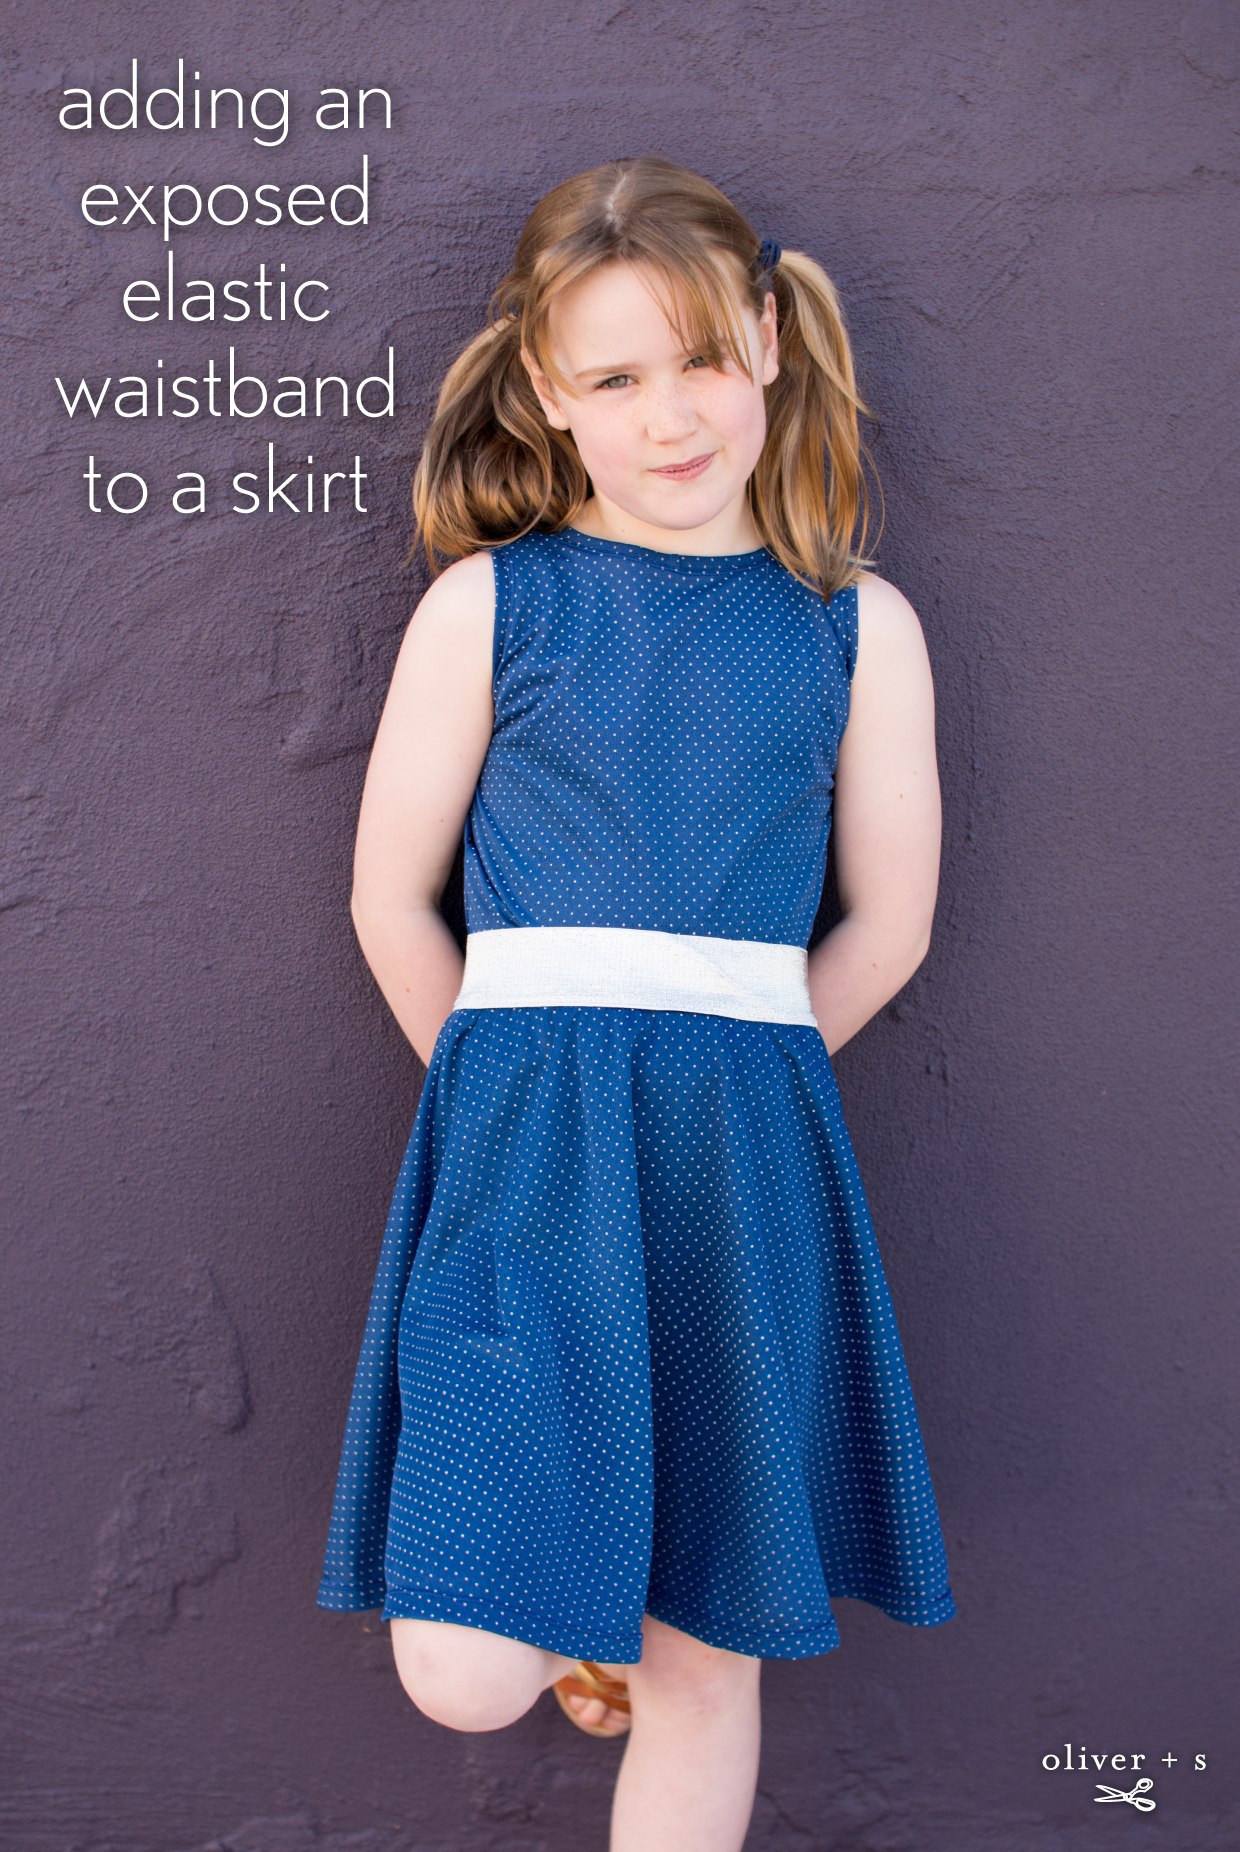
Click on the picture link below to check out how simple it is to sew a nice, twirly, neatly finished skirt with an exposed elastic waistband


Here we'll keep it real and talk about what didn't work so well, right?

I ordered a few 1 yard cuts of fun, wide elastics from Strap Crafts, a Hong Kong based store with a huge range of interesting wide elastics and very reasonable shipping to Aus.

Rummaging around in the fabric stash for what would work well with this 2" wide, glittery silver elastic I found some of Topbike Physio's mum's stash fabrics that was perfect. A lightweight, breezy, summery synthetic knit in blue with tiny silvery white dots.


There was just enough to cut this part circle skirt using the Building Block Dress Book pattern (the size 6 width, 7 length already traced off) and a little singlet based on the size 8 School Bus T-shirt.

To turn the t-shirt into a singlet I reduced the shoulder width back to the point where the notch is marked on the pattern. I raised the underarm by about 1/2" - which it turns out I shouldn't have done. then I sewed a band just like the neckband to finish the edge.

The armpits are a bit high but she's hasn't complained and has worn it a few times already. For next time, I'd leave the armscye depth alone, but shave a bit more width out in the upper chest. It's not helped in these photos by her accidentally wearing the top back to front. That doesn't change the arm line but the front neck, which I lowered by 3/4" would look better at the front.

But here it is at the back, and a demonstration of the lovely twirl of the part circle skirt.


This outfit has proved to be a real winner and since it was so easy to make I can see a few more two piece spectaculars using exposed elastic and stash fabric being made this summer.


Bring on the warm weather!

Tuesday, 19 September 2017

Building Block Dress her way

In a curious coincidence, last week was the first anniversary of the release of the Building Block Dress Book and last week was the first time I really used the book in the way it was intended.

I handed it to my daughter and said pick your dress. Whatever you pick, I can sew it!


We had another Saturday ballet matinee coming up and I was in the mood to use up some of my cotton stash for a new pretty dress. Maybe it was also wishful thinking that spring would come if I would just sew some spring-like garments.

The Building Block Dress Book takes one basic block pattern and then guides you through alterations to every aspect of it such that you end up creating a truly unique dress. Previously I'd used the pattern block and turned it into T-shirt dresses (here and here) by using knit fabric and omitting any closures. Those dresses have both been in heavy rotation.

Applying herself to the task, A sat down and pored over the book then finally declared she liked a dress example with scalloped yoke and hem facing.
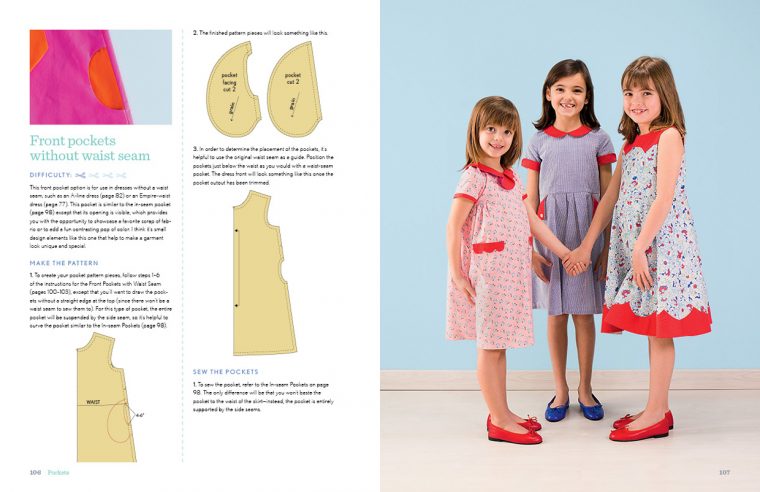
Image from Oliver + S with A's dress choice shown on the far right

I rummaged through the fabric stash and presented her with 4 or 5 choices for the main fabric (yep, I wasn't going to let her loose in the fabric stash unsupervised). She picked a quilting cotton that I had 1 metre of and had probably earmarked for making her a blouse about 4 years ago.

Then I hunted for a suitable contrasting solid. The blue from my Lisette dress was a perfect colour compliment, although a bit limp and drapey as a fabric. Still, I was determined that this was to be a stash fabric make so it had to do.


And I set to work on the pattern: the silhouette is unaltered from the basic pattern block. I drafted a size 6 with size 7 length, then retraced the bodice and drew in my curved yoke, cut my tracings and added seam allowances.

For the skirt I wanted the scallops to be about the same size as on the bodice, but of course I also wanted them to continue across the side seams and the centre back seam apparently unbroken. That took a fair bit of measuring and adjusting to get it just right. I thought that was the hard bit done....


But then came the sewing.

Just to sew the two curves each of the front and back bodice was one solid evening's work. There were twenty more on the skirt.

Man, it sucked. Each scallop is the joining of two tight, opposing curves that requires lots of clipping and pinning and careful stitching to avoid puckers. It took forever.


To finish the dress I'd decided on a full lining and invisible zipper. Here I confess I sewed from memory and didn't reference the various parts of the Building Block Dress Book where the instructions could be found. I sewed the dress in the same way I have sewn the Fairy Tale dress (many times now).

I used a lightweight cream cotton from the stash for the lining and then decided that it needed some tulle, so I did end up buying some fabric after all. One metre of light green bridal tulle was enough for a double layered tulle underskirt.


It was all getting pretty last minute by this stage and so I confess that none of those seams are finished. The scallops are all edgestitched, but I should get in under there with the pinking shears and at least trim the raw fabric edges. Or maybe, since it's lined, I'll just ignore the seam allowances and trim stray threads if and when they dangle below the hemline! :)


When she first put it on I wasn't entirely sold on the fit, but then as she moved around (and twirled and twirled - the pictures were taken after attending the ballet hence all the posing) it looked better and better. While I probably do prefer the fit of the Fairy Tale bodice, the twirly part circle skirt on this pattern is a complete winner as far as she's concerned.

Of course the whole point of the Building Block Dress Book is that you don't even have to use the pattern, just use the ideas of pattern manipulation and the techniques shown. So why not put a part circle skirt on the Fairy Tale bodice? Or why not add some waist darts or even princess seams to this bodice to alter it's fit? That is what the book is all about.


The armholes are finished with a bias facing cut from the last little bits of the green floral fabric. The facing is then handstitched to the lining. I think without sleeves I should probably have enlarged the front armhole ever so slightly, and I could have lowered the front neckline just a little - as she sat to watch the ballet it pulled back a bit and was tight across her throat. Solved in 6 year old fashion of course by hefting all her skirts out from under her and not sitting on her skirts at all.


It was certainly a fun challenge and I like the idea of working through a lot of my fabric stash with the "you design the dress, I supply the fabric" team approach. With 60,481* possible variations on the basic block dress I think we'll be kept busy using this book for lots of future ballet attending dresses.

*yep, they crunched the numbers. That many different dresses without even changing fabric!

Details:
Pattern: Building Block Dress Book  - basic silhouette. - sleeveless, bias facing. - scalloped yoke and hem. - no collar. - full lining with tulle underskirt. - invisible zipper
Size 6 width, 7 length
Fabric: Quilting cotton (American Cottage by Little Quilts for Peter Pan Fabrics) and tencel, drapey, mystery blue stuff. Batiste lining and tulle
Notions: invisible zipper, thread, and sheer exhaustion. All. those. little. f'ing. curves.

Tuesday, 28 February 2017

One Out Of the Box

What was the dress that I hid in the gift box instead of that over the top ballet costume?

My new favourite: an everyday knit dress made using the Building Block Dress Book pattern


This is the most perfect fitting, easy to wear knit dress for my kid. For me, it's a delight to sew.

I'm no speedster when it comes to sewing, and I won't talk about hours or minutes spent sewing as it just doesn't translate to anyone else's sewing experience. But, I'm happy to say that once cut out, this dress is a "one evening sew". That is, if I start after the kid's are in bed and all the chores done then I can finish the dress while it's still reasonable to refer to the time as "late at night" rather than "early the next morning".


The dress is exactly the same as the first one I made, which was done in order to put the Building Block Dress pattern to the test in a knit - it's designed for woven fabrics.

The pocket openings are bound using a strip of ribbing. I've used a long, straight stitch to stitch in the ditch catching the serged edge of the binding on the inside. The neckline is finished in the same way. Otherwise the whole dress is constructed on the overlocker. The skirt is nice and twirly and a little gathered, but not so much as to need gathering stitches - a welcome relief after all those metres of gathered chiffon! The twin needle* comes out for hemming and it's done.

* Have you seen my Twin Needle Hemming Tips & Tricks? It's a blog post that gets a lot of traffic over at Oliver + S and I've been delighted to see so many new converts to the twin needle cause!


Sorry to interrupt your reading but could you give me a few more pictures? Please?

Details:
Pattern: Oliver + S Building Block Dress Book. Basic dress block  - omitted back closure. Below waist pockets. See here for more details on modifications.
Size: 5 with length of 6
Fabric: Leftover metallic dot grey t-shirt knit from Clearit (used previously here for me!). Merle grey knit ribbing