The fabric arrived in the post Friday. I washed and dried it that evening (yay for Spring), cut it that night and sewed it up Saturday night. Worn on Sunday and now hitting the blog on Monday.

For all the speed in which it was made, it wasn't a dress that I had planned, or particularly desired... It came about like this: A friend and work colleague commented on a Gorman clothing post on Instagram wondering if I could make something like the dress she liked.
Well of course, it was a simple sleeveless bodice with a gathered skirt. And, of course, I'm heavily into procrastinating as I have a Frocktails dress that needs to be made, so could I be distracted by her project? Absolutely I could.

The fabric was the first thing to find. I discovered Nerida Hansen which is a website that collaborates with designers to release little curated batches of printed fabrics. The one pictured above, top right, was my friend's pick. I added some of this banksia print by Jocelyn Proust for myself. There seemed to only be two substrates available, a mid-weight cotton (what I've used) and a heavier linen.
Since we're about the same size I figured I could make a version for me, then she could try it on and her version could be adjusted as necessary.
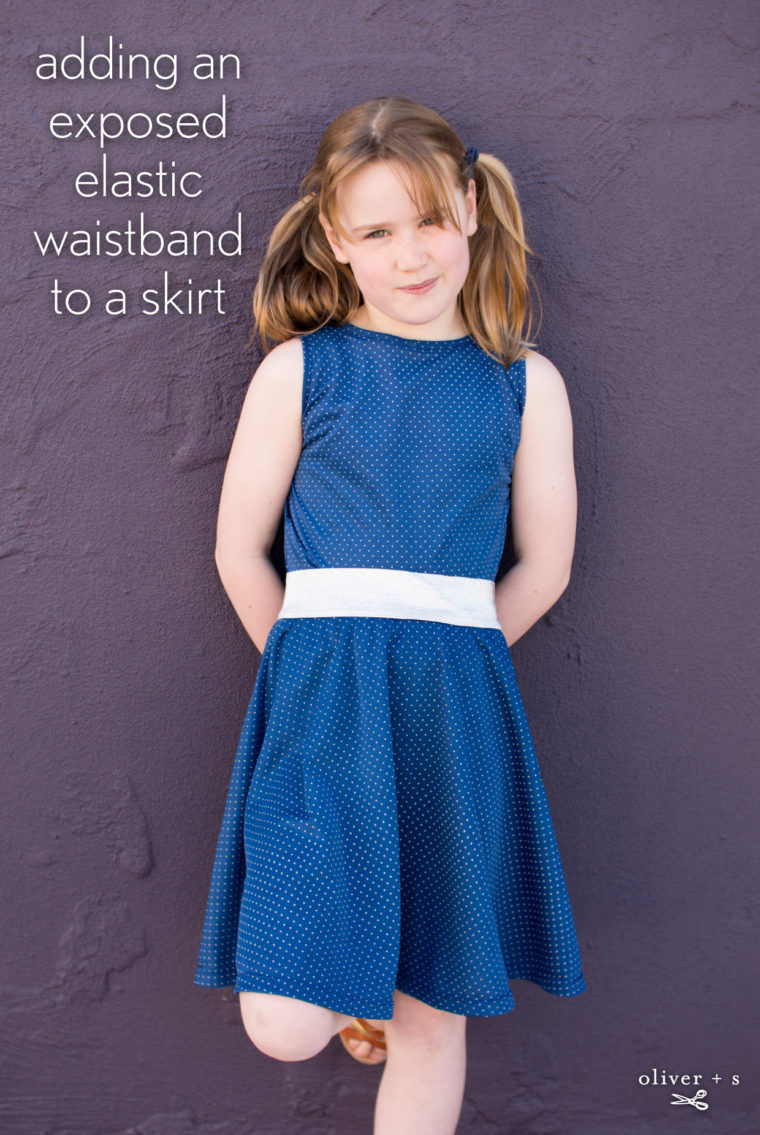
The pattern in the Felicia Pinafore by Tessuti. I might not have bought a pattern for something like this, but like teaching a man to fish, I'd rather make one dress, then pass the pattern on to the friend, direct them to a local sewing school and let them go on to discover how easy it really is!

The photos get pretty "real" from this point on as I just wanted to talk more about the pattern than the lovely fabric. Apologies for crappy back lane weeds and all.
I went into Tessuti to buy the pattern in paper format and they had the pinafore made up in a size S which fitted perfectly. The waistline is quite low and on the Tessuti version it hit about 1cm below my navel.
When it came time to cut out the fabric I realised my 147cm wide, 2m cut wasn't quite enough. Annoyingly, there is a discrepancy on the Tessuti website here: It says for size S using 140cm wide fabric you need 1.9m (let's ignore the 112cm wide skinny fabric option also given). 2m should have been plenty and let's not forget I am a cutting ninja ;)
On the pattern the fabric requirement is printed as 150cm wide fabric, not 140cm wide. The cutting layout is also for 150cm. Well not many woven fabrics come 150cm wide so that's a pretty useless yardage list. On a 147cm (or more standard 144cm) wide fabric you need about 20-30cm extra. Closer to 2.2m
Or, as I did, you just shorten the bodice by about 1cm (bringing back up to navel height anyway) and then shorten the skirt by about 1&1/2"

It's still plenty long enough and I suspect my colleague's version will go shorter still.
It was my first time using a Tessuti pattern and I was slightly dismayed by the heavy paper and sketchy, handwritten style of the pattern sheet. For a $25 pattern it looks a bit amateurish. The instructions, however, are concise and clear and are accompanied with colour photographs. For a new sewist, like the one I'm planning to pass it on to, I think it will be a great pattern. I don't mind photographs instead of illustrations at all when their already printed but I hate sewing from a computer screen or working from black and white versions of colour photographs - I suspect if you printed at home and scrimped on the coloured ink you'd have a had time making out the images.
I ignored the instructions to use tear away Vilene stabiliser and just staystitched the neckline and armholes. The facings were perfectly drafted and that all came together very nicely. I haven't had to move the bust dart and the bodice is great, and certainly one I'd use again. The skirt is a rectangle with pockets. Nothing more to say,I guess.
Except that, the gathered skirt, in my cotton is a bit poofy and tent like. I think the one I tried on in the fabric shop might have been a crinkle linen or something with more hanging drape as I don't recall it feeling like maternity wear. The think that saves it from maternity wear is the dropped/natural waist.

While it's not an entirely flattering silhouette, on a hot day, after a big lunch, it's going to be the perfect dress to be wearing.

I thought putting my hands in my pockets gave it a nicer silhouette, but Flipper said no, not really...
Then I tried to point how, when I walk the fabric tends to move forward and create even more overeating-belly room...

But he just thought I was flexing and showing off, so then things got really silly...

Verdict:
The Felicia Pinafore Dress: If you're new to sewing, go for it. If you don't have a sleeveless bodice, or have a fear of facings, then go for it. For everyone else, you can almost certainly do without this one in your stash
Nerida Hansen Print and Textiles: If you like a bold print then yes! They have permanently free shipping in Aus, very reasonable prices and were quick on the postage. Cotton is always fun and easy to sew. I suspect the linen may be more a home dec weight, but could be awesome for a jacket!