Friday, 7 April 2023

Liesl + Co Cannes test

I helped out with the pattern test for the new spring patterns from Liesl + Co. 

These are the Cannes Wide Legged Trousers that I made, and tried to photograph, during a period of intense rainy weather. They're pants that really want to be worn out to a fancy restaurant in late summer evening sunshine.... But here's my dining room in the gloom instead.


They're a super wide, swishy trouser that worked really well in this lightweight tencel twill from Fabric Deluxe.

The construction at the front has a great pocket stay that's stabilised in the zipper so the they have the belly control section and then the pleat in the trouser front is free to hang without any tension. I appreciated that as I possibly undermeasured myself and they came out a fraction too small. They are a "close fit" across the backside and very slightly strained at the side pockets.


I haven't really had a chance to wear them yet, as when I went to grab them for a recent lunch date (maybe not wise with the close fit issue anyway) I yanked up the zipper and promptly pulled it right off where I had shorten the zipper to avoid sewing over metal teeth at the waistband. I fear I'll have to pick the zipper out and replace it. 

My top is an as-yet-unblogged bodysuit that I made to wear to Melbourne Frocktails last year, and I still can't decide if I should pull out the foam bra cups. On this miserable, rainy day they were useful to avoid the full headlight glare of a tight fitting top on a cold day!


For the Cannes wide legged trousers in a much more exotic location, check out the introductory post on the Oliver + S blog here


Annual Swimwear Sewathon - Part 3

It's feeling like winter is just around the corner, and I really need to catch up on documenting makes, so let's wrap up the summer swimwear sewing....


It started way back in September when it became clear P needed more swim trunks for our spring holiday (the legendary Mummy Mystery Tour). He assured me his boardshorts were fine.

I knocked out a quick two pairs of the Seamus swim trunks, from Ottobre 03-2209. This time in the largest 170cm size. Of course, when we got to the beach, it was clear his boardshorts didn't fit anymore and he's not the kind to wear trunks without baggies over the top. We had pretty poor weather (the only thing I couldn't organised to perfection!) and so there was only one beach swim at Uncle Franco's house where there were wetsuits for anyone who wanted one.


Exactly as I remembered it.

I'd made Flipper some Jalie boardshorts that have never been photographed. They're a bit too big but he still seems to pack them first. He also declared they should have a proper pocket - i argued that the coin/key pocket is all you want lest you put your phone in a bigger pocket and then forget and go in the water. But I was voted down on that. 

When I went to make P's boardshorts for the annual January river holiday I added a cargo pocket


Not that you can see it in that photo as I cut the pocket and the flap so that the surfboard pattern lined up. The patterned polyester microfibre was from spotlight and the plain blue a remnant from somewhere that was stashed.

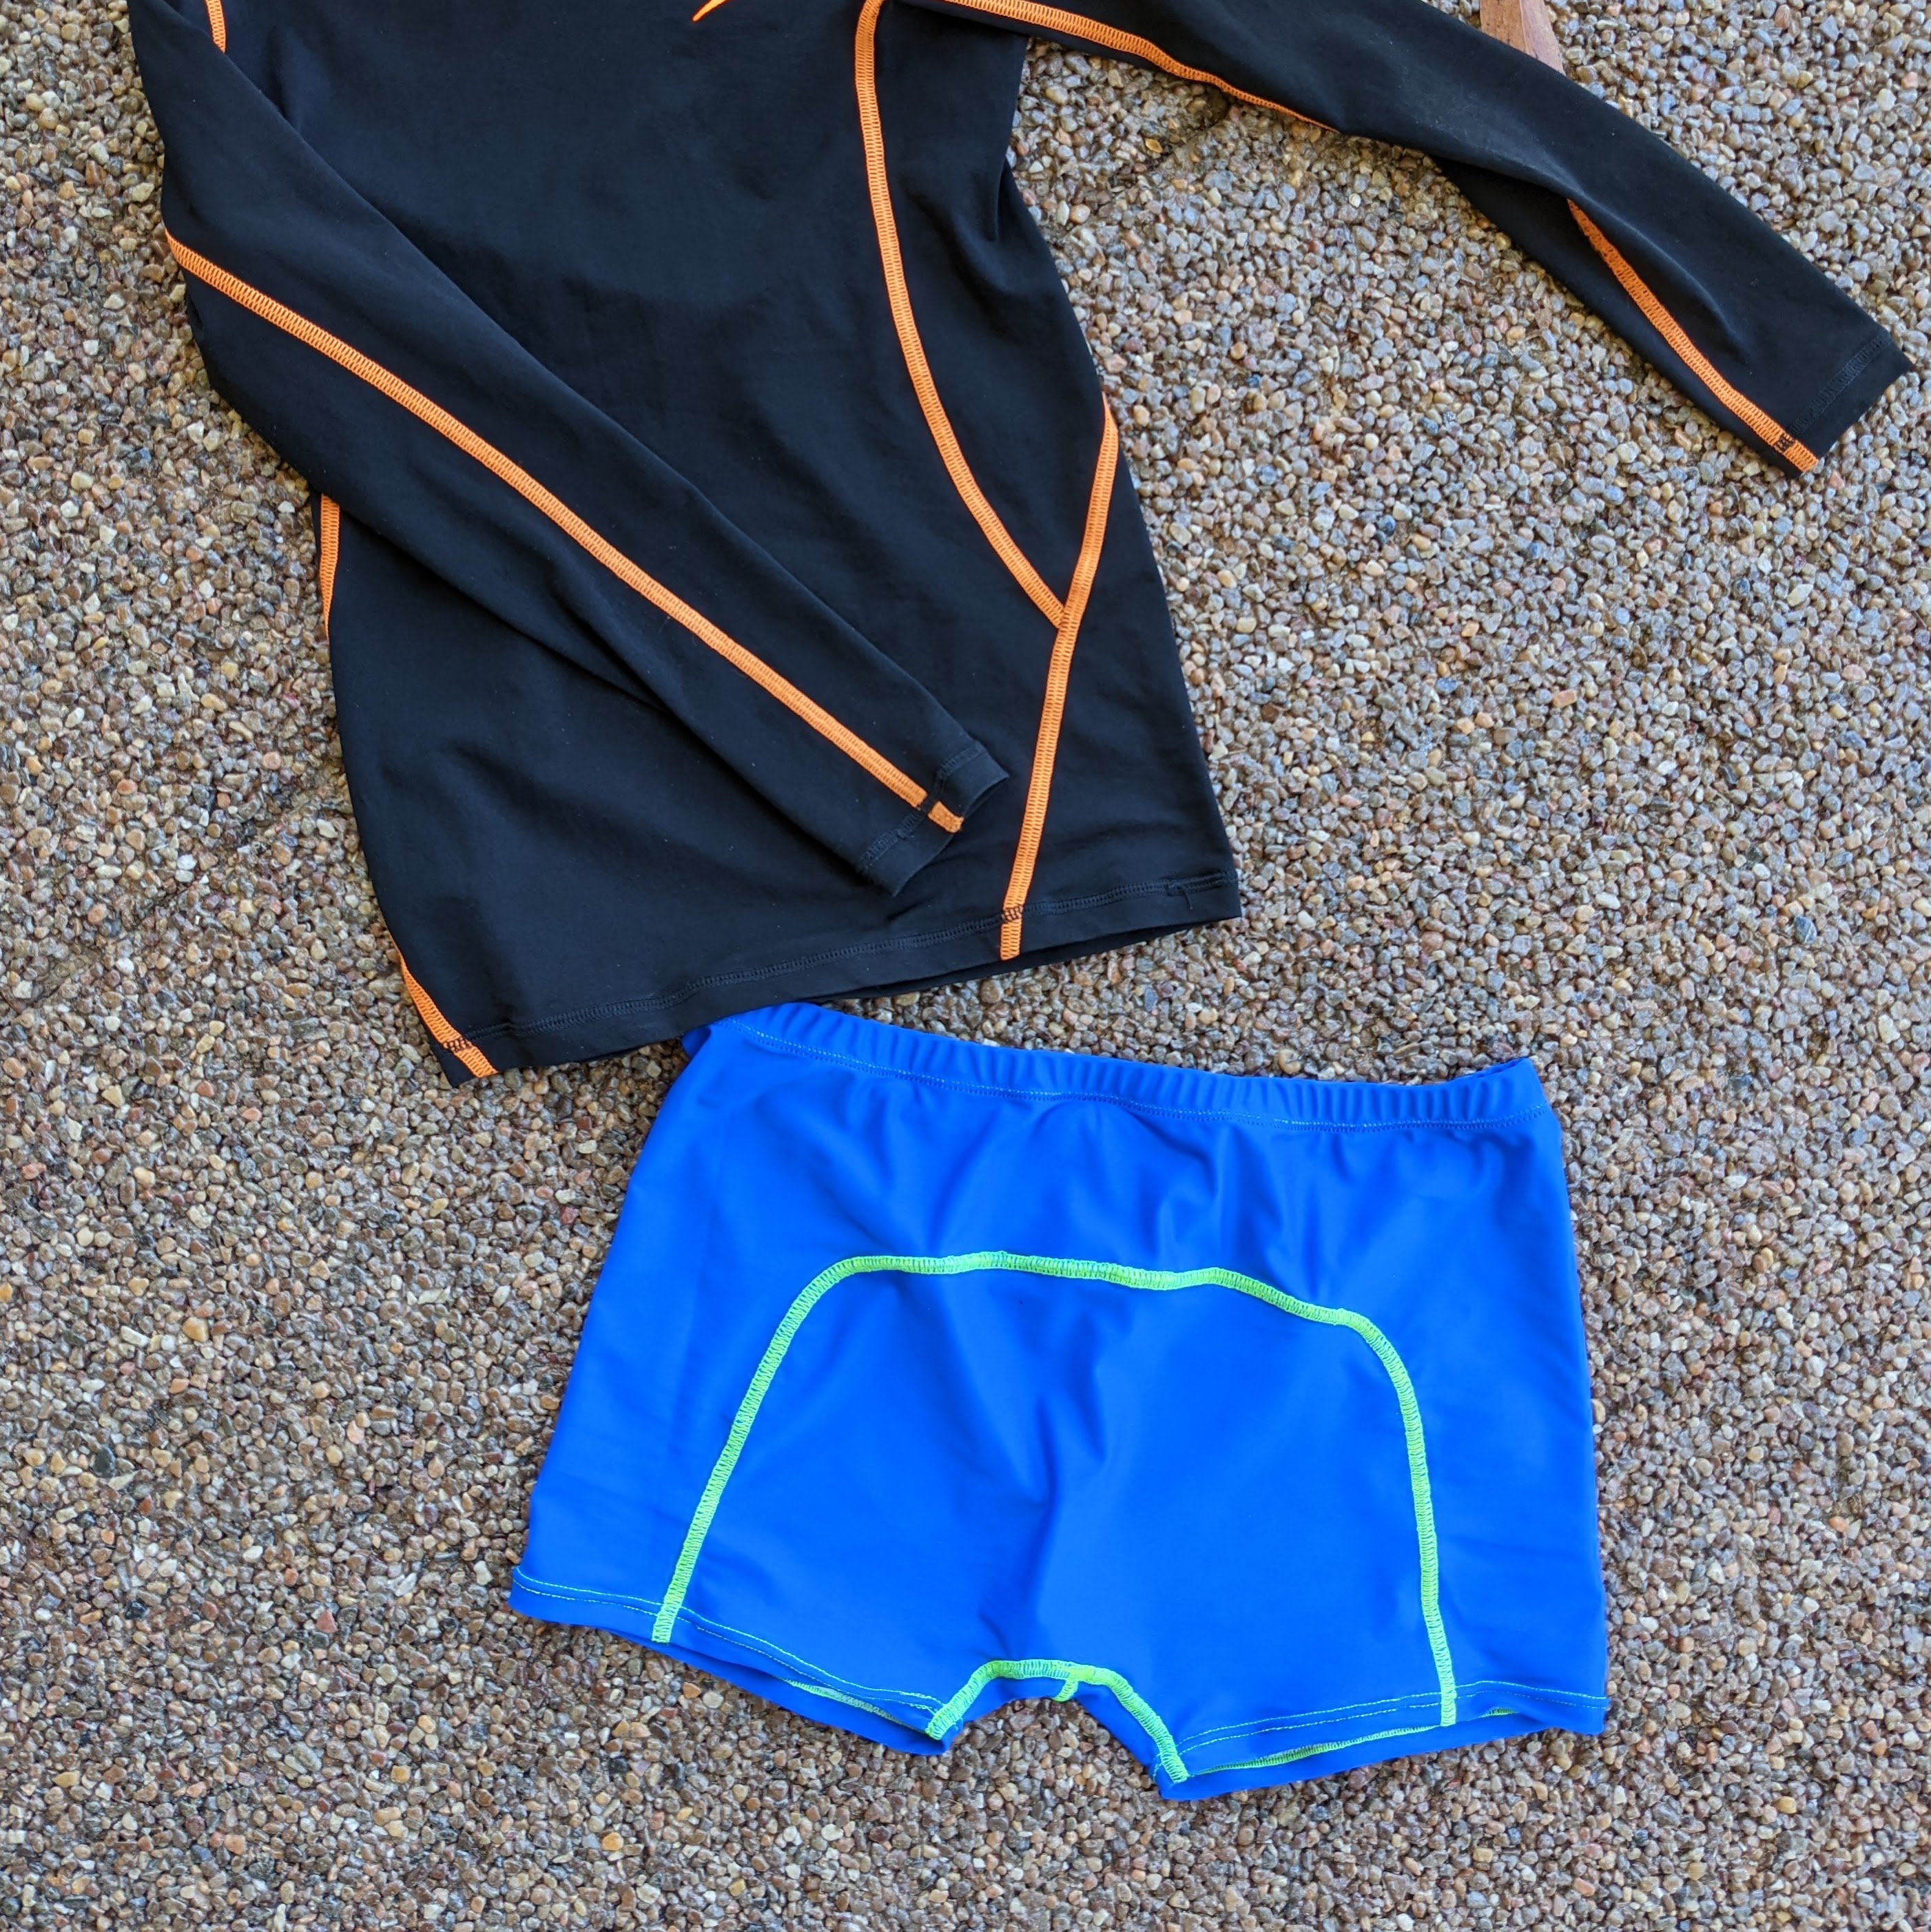
The new rashie top is the Jalie Valerie that I'd made for myself. I was lazy and even made the same size as mine with no alterations other than extra sleeve length (maybe about 9cm?). This blue rashie was the first thing I made with my new coverstitch machine and I struggled.

I was convinced I should be able to do it all in one pass with the coverstitch, but to flat fell a seam with the coverstitch without having first basted it is nigh on impossible. My seam allowances were wildly off and it was all looking quite messy. The practised accuracy I have with my twin needle sewing machine was also lost, so even the "easy bits" like stitching down the neckband looked shite.

For the second rashie (which hasn't  been photographed, but is the same camo grey and black as my swimmers) I decided the best thing was to admit defeat, stitch the seam with the correct seam allowance and a narrow zigzag on the sewing machine and then use the coverstitch to secure the seam allowances and give the decorative topstitching effect. All of which is just to say that I still see a place for an industrial flatlocker in my sewing machine arsenal. The only problem being I just don't see an actual space for it :)

The pocket is from the Thread Theory Jutland trouser pattern, which I has out just the other day as I put a new bottom section on his favourite camouflage cargoes, adding an extra 10cm leg length. Of course the added fabric hasn't been washed and worn so it's a bit darker and he looks like he's been dip dyed! :)

In total, between the two fellas, I sewed three pair of Jalie 2678 Boardshorts, two Jalie 3668 Valerie rashies and two pair of Seamus swim trunks (Ottobre 3/2009)

There's lots of other summer sewing to catch up on here while I start on some winter weather making....

Tuesday, 21 February 2023

Annual swimwear sewathon - part 2

At Christmas time I wore an older, non-me-made pair of swimmers to the pool and the leg elastic made that crackling pinging sound that elastic makes when it has lost the will to live.

Time for some new me-made swimmers then! I hadn't quite hit the jackpot with my previous efforts. The bottoms of any two piece I'd tried were weirdly oversized and the one-pieces just weren't quite right either. Oddly, for all the Jalie swimsuits I'd made the kids I'd not yet tried one for me. Not being sure which to try, I made three different patterns.


First up is Jalie 3134. I've made this one quite a few times for A and always really liked the shape of it.


The full glare, squint into the sun photo isn't the best, but my attempts at action shots weren't much better...


Or bathroom selfies, but at least this shows the pattern lines better...


Love how these ones stay put regardless of the activity. Good leg hole that doesn't result in a wedgie, nor feel overly clunky and low. I really like the panels that allow for colour blocking and probably need more contrast than my camouflage black/grey and black. I fully lined both the front and the lower back (back lining was additional to the pattern instructions) and it's got a good amount of the firm, squish factor.
The piping effect is kinda fun and done with a thin strip of fabric that's stretched in order to cause it to roll and then zig zag stitched over the top of.
There are no closures on this one, so it's easy to make, if not slightly harder to get in and out of. Will definitely make again.

The second pair were certainly pretty in a flat lay:


These are Jalie 3350, view A. Again, I've made this pattern quite a few times for A and always liked the look of it. It's less "sporty" than the kind of swimwear pattern I gravitate towards.

I made the same straight size that I'd measured at, but in this pattern I think I need a smaller size above than below. The bust section feels slightly loose and unsupported. Sure I could put swim bra cups in there but I suspect that might add padding and weight, and I'm still not going to get anywhere near cleavage-ville unless the straps are hoicked up super tight.

The leg cut on this one is lower than I like. It's at the height that most swimwear has been for the last ten years or so, but I have an eighties idea of where a leg hole should sit that can't be budged.


I think this is the only photo of me wearing them. Again, I lined the back lower half (not in the pattern). the fabric is a lovely matte lycra and it matched quite well with a bit of Carvico Vita solid that was in the stash. I should get more photos if only to show off my pattern matching cutting!

Definitely wearable, and not a bad pair of swimmers. However, I'm not sure I'd make this one again as I 'd want to redraft the leg, and make sizing adjustments to the top half that might be more trouble than it's worth. I guess cute swimmers might not be for me.

Finally, I found myself in Rathdowne Fabrics and decided a large scale floral print lycra would need to come home with me to make one last pair...


These ones are certainly my favourites.

The pattern is Jalie 0969 which is only available as a PDF and that I'd made in both views for A previously.


These were a really easy sew, and I'd purchased the fabric in the morning and made the swimsuit by dinnertime. This time I just followed the pattern instructions and only used a bit of lining in the gusset. No front or back full lining. I suspect I'll wear them until they wear out and I hope someone is kind enough to let me know before the back fabric gets too see through!


When I was at Rathdowne Fabrics they had these hats for $2 each. Apparently they'd been accidentally shipped as part of a haberdashery order, odd right?! Anyway I thought it looked good with the fabric and it was really well made and adjustable. Perfect river hat.


This is definitely my favourite pattern for me at the moment, with 3134 in a very close second place. I fully intend to check every leg cut against this pattern in future.


Tuesday, 14 February 2023

Catching up and the annual swimwear sewathon - part 1 Jalie 4013

Oh I have got so far behind in documenting things here that the whole purpose of the blog (what size? how much extra sleeve length?) is at risk of being completely lost.

The hurdle has been some unphotographed, or poorly photographed, outfits and the feeling that things should be documented in order. Hang that. Let's start playing catch up....


The annual swimwear sewathon was directed by A who declared she wanted the swimmers that have a rashie on top and swimmer bottoms. I toyed briefly with the idea of mashing a leotard and a swimsuit pattern but then remembered Jalie had exactly the pattern I was after. I just didn't own it yet...  Easily fixed. Jalie 4013 - Zoe to the rescue (hard copy shipped promptly, and on sale, from Seamstress Fabrics)


The size was as per her measurements (R from memory?) with 1" of length front and back. This is the same mistake I made with our Bowie skinsuits: If the torso loop measurement is 1" longer than the pattern then only 1/2 and inch is needed to be added to each pattern piece to result in 1" extra overall. So maybe they're a little longer in the body than required, but at least that means they should fit next summer.


The fabrics were all stashed swimsuit fabrics. The camo fabric was divided up between both kids and myself. the plastic zippers came from Jimmy's Buttons' where Jimmy hunted out exactly the zippers I needed and then shortened them for me. Of course the pattern sizing was such that they should have been shorter still (shortened when sewn), but I just made them finish lower than intended and worked around them being the length they were.


I'd just bought myself a coverstitch machine and between a little bit of sewing machine for the zipper, a whole lot of overlocking for the seams, back to the sewing machine to zig zag attach the elastic and then on to the coverstitch to finish the elastic - I had a real workshop vibe going on. Fun times.


I backed the tension waaaaaay down on the lower looper thread of the coverstitch and used woolly nylon in the lower looper thread. Worked a treat. I banged out these two swimsuits for A and then three for myself in the week leading up to our January holidays. Easier than shopping and the sweatshop conditions are pretty sweet.


Monday, 7 November 2022

Jim Sweater

I've sewn and made a bunch of stuff since the last blog post about the Jutland pants, but it appears this blog is brought to you by the letter "J", so here's my Jim sweater*

* my dad's name is Jim, he's just had his 80th birthday, and no, I wasn't a good enough daughter to make him a sweater.


This is the first full size garment I've knitted and I now understand the tedium of "sleeve island".

The pattern is the Jim Sweater by Paula M. I'd previously knitted both her Thea top and her Basic Shirt t-shirt, as well as crocheting the Lucca hat. And I'd found all of those patterns well written and easy to follow.

This one, not so.


The instructions for the yoke, with increases at the shoulder and the 2x2 rib pattern were not clear at all and assumed some knitting knowledge of working in a pattern that I didn't have. I emailed Susanne (the pattern writer) and she tried to help but the language barrier and her knowing what to do meant we didn't get far. Eventually the Ravelry forum crowd talked me through it.

I rewrote the yoke instructions to be 4 rounds of increases which actually told me what to do at each row. Happy to forward that word file to anyone who owns the pattern and has found this blog post by  typing "Jim sweater yoke increases wtf" into a search engine.

Perversely, after giving little hand holding on the yoke section, the next section seemed to overexplain; telling me, twice, not to do something I would never have thought to do anyway, and that wasn't in the instructions. That made me worry that I was missing something all along that I was now meant to stop doing. Ravelry again came to my rescue with an explanation.

Finally I had the body done and could start on the sleeves...


and yep, that took forever!

I finished it just before we went on holiday in September and took it with me, but it hadn't been blocked and was feeling sloppy and the sleeves were weirdly twisting. Curiously, the sleeves seemed to both be rotating anti-clockwise so I guess it's something to do with knitting in the round. 

Now that I've finally blocked it, it's behaving perfectly.


I used Cascade Ultra Pima Cotton in grey and navy, using most of 5 skeins of the grey and about 1&1/2 of the navy. Size M with 4.0 needles to get gauge.

It's not a superwarm sweater being cotton., But on this day when it suddenly got into the mid twenties after so many cold days it was getting hot!


Thursday, 15 September 2022

Just more Jutlands

Those camouflage cargo pants I made for P with the stretch drill from Drapers Fabrics and the Thread Theory Jutland pattern went down a treat!

He was very happy for me to suggest an immediate repeat using the other colourway of the fabric.

It's the same size 30 pattern with elastic added to the waistband from the under the front belt loops.

Only this time we raised the cargo pockets up the leg by 2" - they do seem quite knee high even on the pattern model. Although this kid can pretty much touch his knees without bending (monkey arms!) that seemed awkwardly low even for him.


The other change was just to add 1" length at the hem. Not because the others are short on him, but just because it would be nice to have trousers fit for more than a month or two before they come ankle grazers.


The zipper was from my stash via Jimmy's Buttons and a navy button of the right size was easily found. They're not a quick sew with all the pockets and finishing, but they're super satisfying and look so great when finished.


With two new pairs of long pants that fit, I lopped the legs of these, older camo pants to turn them into shorts for summer. But he was still short on shorts. Ha!

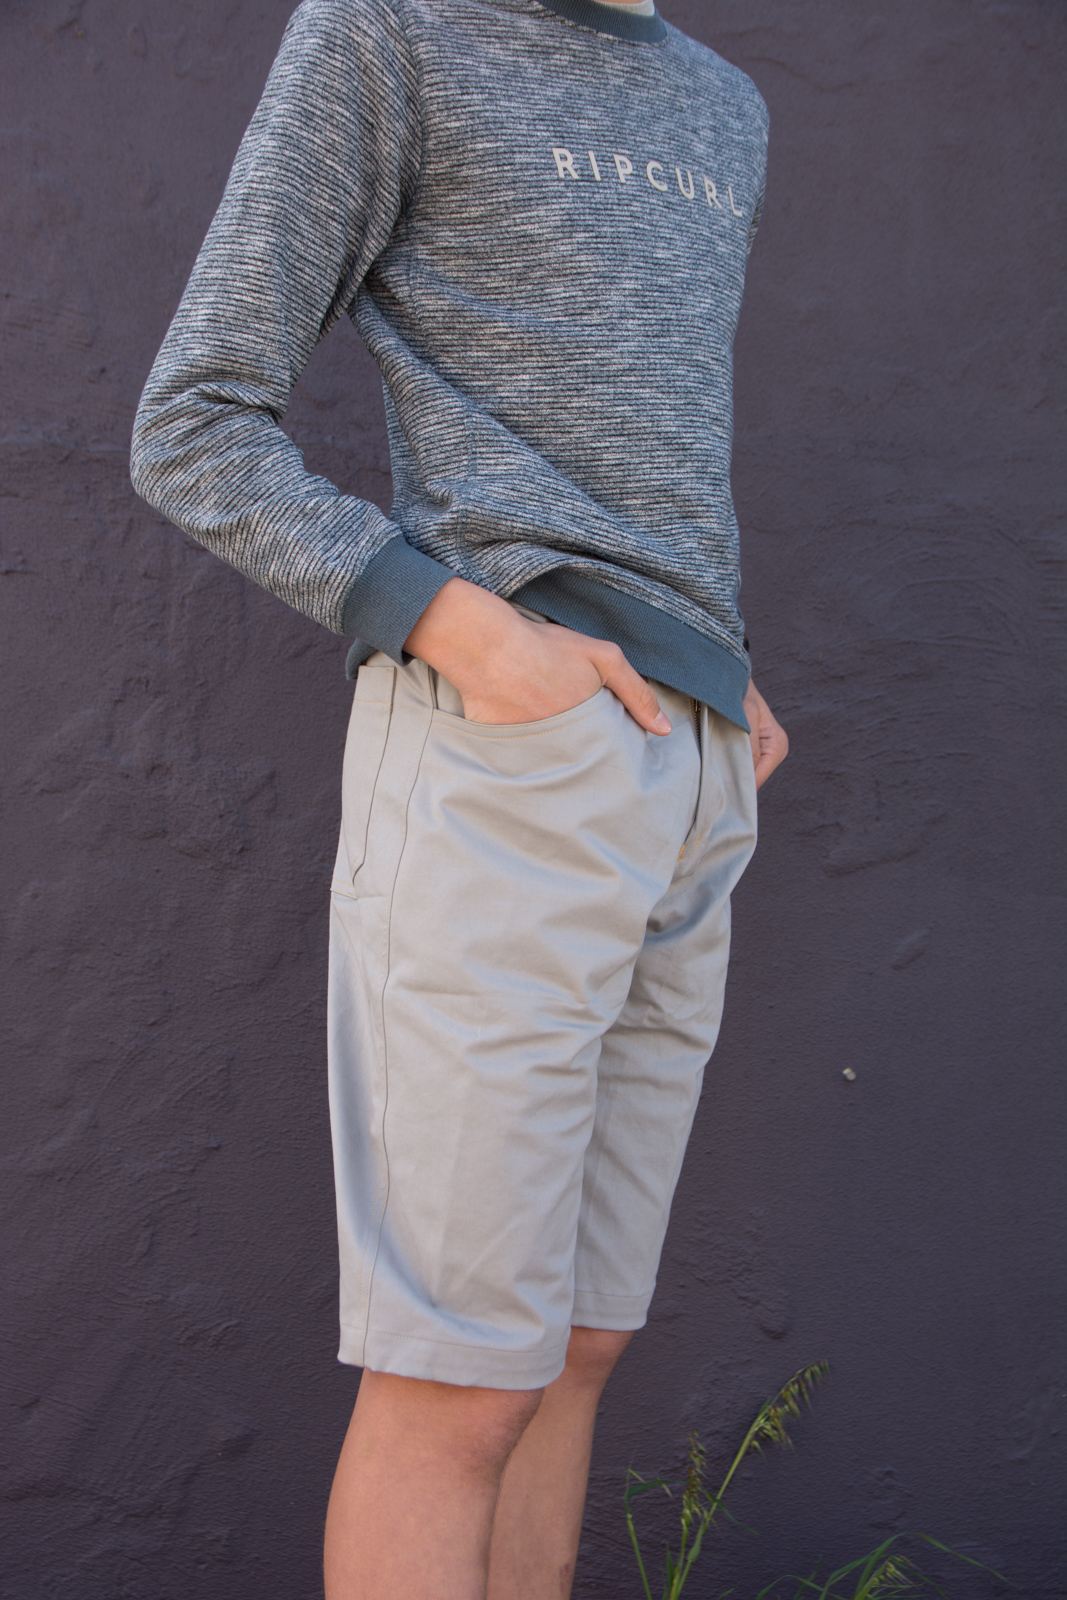
Why not use this pattern that was fitting so well and just make some shorts with it?!


I decided shorts should be a bit roomier than the pants, so I split the front pattern piece vertically and added 1" width. Then, at the waist line, near the front pocket I took that width up in a 1/2" pleat.


I eyeballed the length and folded the pattern tissue up to where the knee patch reinforcing is usually placed and cut there. But I didn't get it very square and my inner front leg and inner back leg were not the same length. Once the shorts were constructed I just squared off the hem and so I'm not sure exactly where the length ended up, but it's perfect.

The fabric is a light to midweight stretch cotton drill from the stash and I was given free rein to do whatever I liked, so I chose a light, mustard yellow for the topstitching.


Both of us are really delighted with how well these shorts turned out.


Details:
Pattern: Thread Theory Jutland pants (View B)
Fabrics: Drapers Fabrics stretch drill camouflage and stashed cotton drill 9supercheap?)
Size: 30
Alterations: Added waistband elastic, raised cargo pockets and added length. Shorted and added front pleats width for shorts.


Saturday, 3 September 2022

Slip Stitch Party

When I'd finished the Scout Shawl and then the Elvan Shawl, I was casting around (ha!) for what to do next and a cycling/knitting friend suggested she was going to knit the Slip Stich Party shawl during the Tour de France.

I saw the pattern and was excited to start it straight away, so I knitted along to the Criterium du Dauphine in June instead! I gifted it to my mum at the end of June and just managed to visit this week to get some photos.


I used the Knitting for Olive fingering merino that I had so much leftover from the Scout Shawl. All I needed to purchase was one other colour to use with the Marzipan for the main part of the shawl, and chose Olive. I bought two balls and used maybe one and a third.


The technique was much easier than the colourwork of the Scout Shawl, although it took a bit of swatching and concentration to be sure I'd have even tension across the different stitch patterns.


The other question was which colour to use as the dominant colour...
This photo was sent to my mum for her input, and is dated May 1st, so maybe it was Giro d'Italia knit after all.


I was loving the Oliver and Marzipan, and once the other colours came into play I started to wonder if it was too much? They are: Camel, Oatmeal, Dark Cognac and Dark Moose


I've since discovered that photographing pretty much any knitting on my living room rug makes it look great and is an immediate confidence booster.


Finished and blocked on 9th June (Just a few days before the end of the Dauphine Libere race) and delivered that weekend. My mum wore it straight out to lunch the next day and it looked great but no time for photos.

But this week spring had sprung and it was lovely to visit and insist on some pictures in the garden.


Pattern: SSP (Slip Stitch Party) Shawl by Isabel Kraemer
Yarn: Knitting for Oliver merino
Needle size: