I've had the Megan Nielsen Dawn Jeans pattern for so long now, and I finally thought to have a go at making a pair for myself....
There was some black, heavy, rigid denim out for another make which I'll share soon and so I decided it was time to trace off and cut out some jeans. At $4/m from Eliza's I had nothing to lose. Based on measurements I chose a size 10 waist blending out to 12 from the hips down.
And initially they were looking good:
But they were so short! I hadn't paid a lot of attention to the inseam length, but just gone for the "regular" length cutting line. I figured at 170cm (5'7") I was pretty "regular".
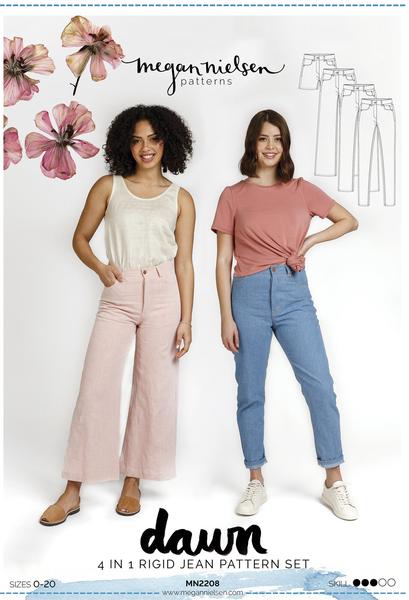
I also, perhaps wrongly, assumed that the models on the pattern cover were wearing the cropped length. It doesn't state whether they're wearing the cropped, regular or tall length, so it's not easy to judge the drafted length of the jeans...
I tried adding a cuff of denim to the bottom, but that looked daft, and they were still at least two inches too short. So I cut the cuff off, narrowed the leg to be more tapered and then single fold hemmed them again. The end result is only half an inch shorter than the "regular" length would be on me, and seriously, wtf are these if not cropped?!
The other changes that I'd made during construction was to take the centre back seam in by 3/8" from just below where the yoke attaches. That reduced the waist measurement by 3/4" yet the waistband was too short.
I went back to my traced off pattern piece and checked I'd cut correctly, yep. Then I checked my pattern piece against the original pattern, all correct.
The discrepancy appeared to be entirely on one side of the front. If I matched the side seams and notches it was all fine from one front edge all the way round the back to the opposite side seam. Then I was missing about an inch and half between that side seam and the centre front. Bizarre.
Given that I'd taken a decent wedge out of the centre back, and I don't mind the idea of easing the pants onto a shorter waistband, I just ignored the notches and ploughed on.
I fully understand the concept of easing trousers onto a smaller waistband, but this was not that. Either I'd constructed the fly incorrectly (and I don't see how I could have) or the waistband pattern piece was in error.
From the photo above you can see how much droopy/gathered fabric there would have been in the back yoke if I'd left the centre seam alone. As it is I need to take some height out to get rid of that horizontal wrinkle.
And then I wondered what I could do about the horizontal wrinkles on the backs of my upper thighs..
I read some handy tips on
Sewing Pattern Review that this might be due to the crotch curve pushing the upper leg down, and sure enough, if I pull up on the centre back waistband the wrinkles disappear.
So for my second pair I tried an adjustment to the lower seat curve where I cut a deeper curve and then added that fabric back on at the side seam. I only made about a 1/4" adjustment.
I also then tried taking a little pinch more of length out of the upper back leg so that they would have to be stretched slightly when pinned to the front leg. I'm not entirely sure I achieved anything...
I've tried wearing this first pair as they really are very comfortable and feel like nice jeans to wear for a day, but the length is just stupid. If it's warm enough to wear cropped pants and have flat shoes and ankles on display, then it's too warm for heavy, rigid, black denim.
I have a shorter friend in mind that they might fit. Otherwise I don't know what I'll do. I'm definitely not one for tight fitting denim shorts. Eeek.
So muslin number 2: Some tweaks to crotch and upper back thigh length. The same centre back chunk removed. The same this-waistband-doesn't-fit-but-I'm-going-to-make-it moment. A bit of width added to the front upper thigh, and then sewn with a smaller front seam allowance over the upper thigh, trying to get that side seam vertical. And finally, an additional 3" of extra length.
And I still think they're too short!
Maybe I'm weirdly old fashioned, but I think jeans should at the very least touch the tops of my shoes. I'd actually prefer them to rest there slightly with a little fold, or quarter break
I looked up the description of trouser length and found this handy descriptor of no break, quarter break, half break and full break...
I hemmed these jeans by only a single 1/2" fold, so they're effectively 3&1/2" longer than the drafted "regular" length. I'd want at least another half inch, so I figure I need to add 5" to be able to hem them as per the instructions with the option of trimming a little off. That's bonkers!!
I don't think I had much effect on those back thigh wrinkles after all.
But I did have a bit of fun with this second pair using all black thread and black hardware. I had some great matte black jeans buttons from
Buttonmania, and then bought some black rivets from
MRecht.
There's some detailed pocket stitching and I even embossed a little Kraft-Tex jeans patch with my blog logo. Initially i'd drawn it with a silver fabric pain pen but it was way too bright so I simply flipped it over and pressed the logo into the other wide by tracing over a printed copy with a ballpoint pen and pressing really hard.
It looked cool, but has all but vanished after the first wash.
So... If, and it's a very big if, I could be bothered with a round 3:
I'd leave the front crotch the same,
Narrow and shorten the back centre waist
Take even more out of the lower crotch and add it back to the outer thigh.
Add more again to the front thigh
Maybe make the thighs a good bit wider all round and give myself a slacker cut
Add a bucket load of length
I have other rigid denim fabrics in my stash, but I also have a lot of other pants patterns that could make jeans.
As much as I feel like I may just be getting somewhere with this one, I wonder if starting over somewhere else may not work just as well. It would certainly be more interesting.