Wednesday 19 September 2018

Ears, beaks, tops and leggings

A quick round up of a few little projects that otherwise wouldn't make it to the blog.

Book week was last month and the kids both agreed to go as the two main characters from the book we were currently reading together: The Wonderling by Mira Bartok


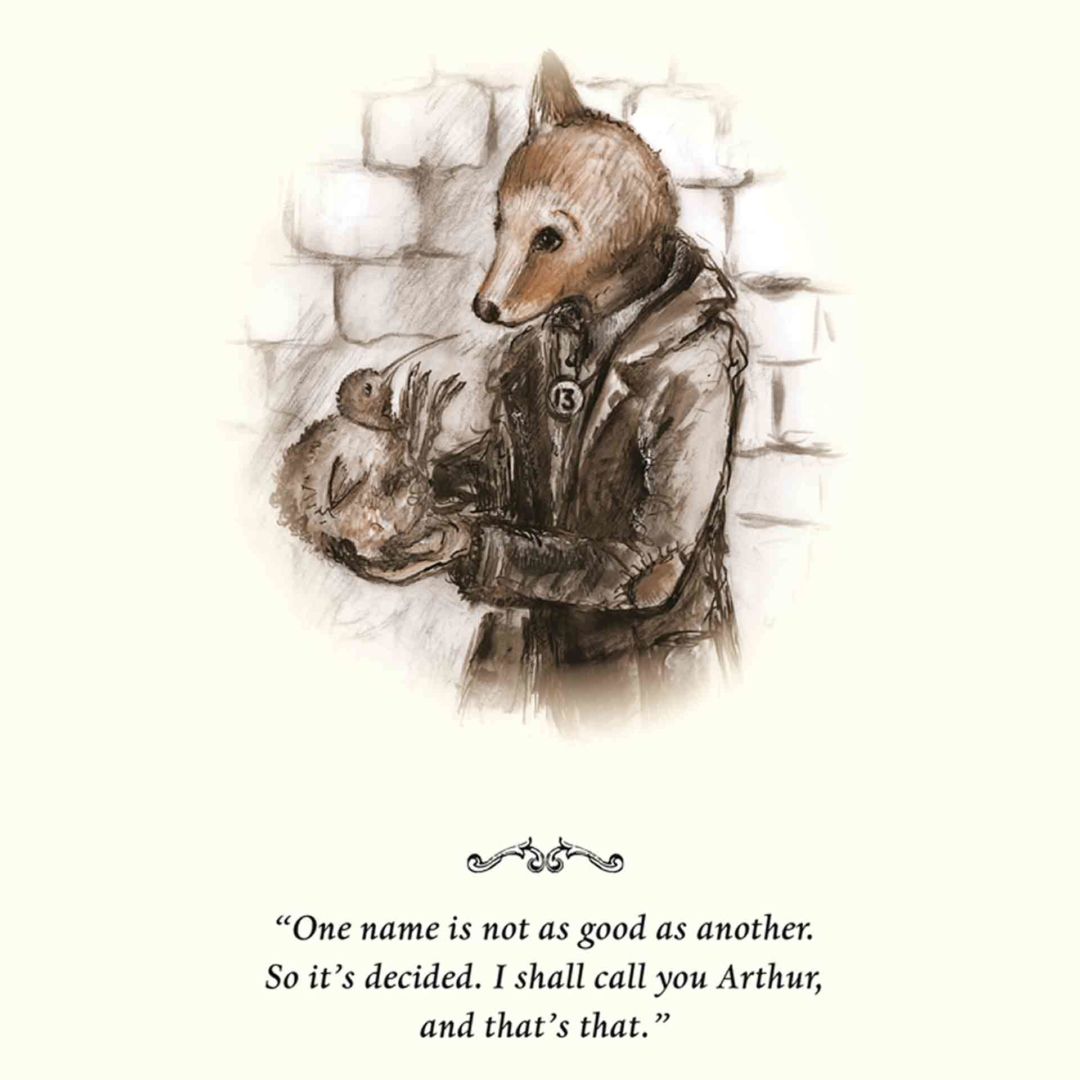
The book follows the adventures of a couple of  orphan "groundlings" which are part human part animal creatures. Arthur is a fox groundling with one very large ear and the superpower of amazing hearing. Trinket is his little bird friend who is an inventing genius and does amazing things with her beak. - "It's all in the beak, Arthur, all in the beak"


I won't go into a book review except to say that it was a thoroughly enjoyable read and the kids got very involved in the story. I've seen the book described as Dickensian, but I felt that one section was so derivative that I am prompted to read the kids Oliver Twist and see where they think the line sits...

Anyway to costumes: P was Arthur, a formerly un-named orphan known only by his Number 13 tag around his neck. We made that from some metal cut from an aluminium can (Flipper obligingly drank a Coke to help out the kids in their crafting) and then all he needed was one big ear.


The stash bucket yielded some foxy coloured fleece knits and a headband to cover. His favourite hoodie is looking suitably old, faded and torn now. Teemed with a foxy coloured Parachute Polo and some Field Trip cargo pants and he was sorted.

As a bird, Trinket struck me as very Kiwi like. I had a bit of my bird plumage brown knit fabric left from when I dressed as a scrub hen for the theatre (if you're new to the blog that sentence might surprise you, but that's how we roll).

Just enough for a long sleeved Tee and some leggings. The body of the T-shirt is pieced in a few spots but the pattern is so busy you'd never notice.


Forgive me a little boasting but I am quite proud of that beak! :) It's a styrofoam cucumber that came from the local, weird $2 asian shop that sells all sorts of stuff you never knew you needed. Among the kitchen utensils and placemats were these fake vegetables on strings. A raffia string with five long, green cucumbers attached was just what I needed. A bit of brown paint, a single cone from an egg carton and some elastic and we had a very kiwi-esque beak. The funny, frizzy hair extensions on bobby pins also came from that shop and make perfect fluffy bird bits on head and tail.

The only downside is A has decided the other four cucumbers on their string are "lovely" and insists on hanging them in her bedroom. Sigh.

Pattern wise the top is the Oliver + S School Bus T-shirt, size 8, with the neckband made into a higher skivvy neck with a slight cowl twist. The leggings are from a Japanese pattern book and I'd previously made another pair so the pattern tracing was already out.


They're size 130cm which is her height and measurements but they're really long. For the bird ones I just left them long, as I'm sure kiwis have slightly wrinkly ankles, right?

But for these blue ones I'd thought it would be fun to try and gather them and use some of this vertical bow ribbon that I've had in the stash for ages.


This leggings pattern was tried to see if it solved some of the crotch fit issues of the jeggings I'd made based on the Oliver + S Playtime leggings. It doesn't really, so I'm thinking the Jalie Eleonore pull-on jeans might be the pattern for stretch jeans/jeggings. Of course that's one I don't (yet) own. But that's also how I roll.... right?

Thursday 6 September 2018

Nana pants mark 2

I only went in to Fabric Deluxe to get thread you know...

And there I found the perfect heavy knit fabric for more pull on pants. the kind of hefty nana-ish knit I was talking about back when I made these lighter weight ponte pull on pants.


But these ones aren't the same pattern (the others were V9284). This time I tried out the Anne Klein Vogue pattern V1517

How did I discover I had a second pattern for seamed, pull on knit pants? Well, I ended up with a few really lovely hides of navy leather at a very cheap price and suddenly remembered I had a pattern for a leather jacket. Lo and behold the same pattern yielded some pull on pants. How did I come to score a pile of leather hides? Well I went out to Eliza's to try and get a zipper.... :) (you know how it goes)


So I got my thread (and my zipper and leather) and then bought some of this heavy weight knit. It's a charcoal grey rib on one face and a matte black, smooth ponte type on the reverse. It was somewhat narrower than the average knit at only 135cm and I was keen to avoid any leftovers. I plumped for 1.25m after reading, then disregarding, the pattern fabric requirements on my phone at the store. (it only lists 150cm wide knit and suggests 1.6m).

I traced the size 12 (after measuring exactly as per the size 14 - but I'm learning) and then overlaid the pattern pieces from the V9284 pants. The legs looked very similar but the rise was much shorter on these ones. So I added 1" depth at the crotch lengthen/shorten line and another 1" length at the lower leg lengthen/shorten line. And with those changes it just fit on my fabric with nothing left to spare. (I had to cut some pieces upside down and if direction mattered you'd need 150cm wide fabric or to double the yardage)


Size and fit wise I think I was mostly correct. Certainly sizing down was right and I think the extra length at both positions was a good call. I love how the back rise of my other pants allows me to cycle without looking like a tradie who's lost his driver's license. These ones afford a similar coverage now.

The back seams are set a bit too far to the sides from above the knee. They're fairly centered on my calves but need to come more to the midline from there up. The only other review I could find of these pants suggested the same thing.


They're certainly comfortable and while they suffer the same existential crisis as my other pull-on pants (real pants or trackpants - what are you?) I've been wearing them around the house as well as out once and they're not half bad.

The waistband is 2" wide elastic which is sewn to the inside and left exposed. I cut it a good inch shorter than the pattern piece and it's perfect - although maybe I should have taken in that centre back seam first to avoid those pucker-y gathers.


I thought I had 2" wide elastic in my stash, but it was only 1.5" and that wouldn't have covered the waistband seam allowances. I dashed out to Vo-Le where she had exactly what I needed at only $1.50/m (best table tennis and sewing notions shop in the world!)

The pattern was very quick to sew. I used the overlocker for all the seams then the twin needle to edgestitch/topstitch the front and back seams and hem the waistband and ankles.


I think these pants are occupying that middle ground where they don't look like activewear, or trackpants, but they're not formal, proper trousers either. They're nana pants and I'm liking them. But I do wonder if my mum might like them more.... ;)

Of course I traced off the jacket pattern and that will need a muslin or two before chopping into my leather. Perhaps that can be my Frocktails jacket in case of cold weather. Are you coming to Frocktails? Have an outfit plan yet?

Details:
Pattern: Vogue V1517
Size: 12
Fabric: ribbed double knit from fabric Deluxe
Modifications: 1" extra rise length, 1" extra lower leg length

Notions:2" wide waistband elastic, thread.


Wednesday 5 September 2018

Bomber Jackets and that awesome ribbing

Each time I pull a bit of fabric out of my stash I find other bits and am reminded of an idea I might have once had....

Bomber jacket time!


It was this shiny, brown, patterned faux leather that got me started on the bomber jackets for kids idea. When I re-discovered it in the stash and decided it was all wrong for my pencil skirt, I showed it to A and she went nuts for it.


I already had a kids bomber jacket pattern in McCalls M7619, and I had lining fabric. All I needed was the ribbing for the cuffs...

I'd been seeing the Albstoffe cuffs on instagram and decided they would be perfect. My dealer for all things hip like that is Maaidesign and while I'm not sure if hers are actually the same brand, they're awesome all the same.

Of course that left me having to choose which cuffs to use, so I bought two different ones and made a bomber jacket for P as well!


His fabric was also pulled from the stash. It's a wool that almost feels like a felt, not as thick as a regular melton or coat weight. Knowing he feels the cold I underlined it with some fleece interfacing and then lined it in black.


To use the ribbing for the neckline required it to be wider than the pattern's intended neckband. the ribbing has a distinct fold line in the middle where the weave changes. Which is perfect for a good fold but means you can't really change the width without unbalancing the stripes.

I'm not sure the jacket needed it but this funny alpaca with it's gold "hello" was at Spotlight and A was keen for it to go on her jacket. Sure, why not. I hand stitched it to the front panel before constructing the jacket.


And so P got a giant fluffy letter P which came from Eliza's for only 50cents (only about 4 letters in the middle of the alphabet were available). Flipper informs me I've put it on the wrong side but I thought the shape of the P looked nicer facing in - in other words, meh, who cares.


Both zippers came from Jimmy's buttons and I took to them with pliers to shorten them and reapply the metal stoppers.

The sewing was pretty straightforward. The pattern is fairly basic and a here's a tip for anyone making this version with the external front pockets. After sewing one side of the zipper in, close the zipper and mark every point where there is a seam (or a stripe in your ribbing!). There's nothing worse than a jacket that closes with wonky pocket lines - go back and have a look at the pattern cover photo of the boy's jacket and you'll see what I mean.

The pattern has you stitch the lining to the bottom ribbing waistband and then hand sew the whole front, neckline and sleeve cuffs by hand. After doing A's jacket that way I thought I'd figure out some way of bagging the lining, but then I couldn't be bothered and hand sewed P's as well. Sometimes it's easier to turn the brain off, the telly on, and just stitch.


A's jacket has these side seam pockets which are kind of like patch pockets only applied under the jacket front rather than on top. It took her a while to even realise they were there!

I measured the pattern pieces for the neckband, cuffs and waistband and discovered I would need two lengths of each cuff ribbing. From one length is the waistband and the other length yielded the neckband and two sleeve cuffs. The sleeve cuffs are a bit big on A but to gather the jacket sleeve to a smaller cuff would have been very tricky to sew.

The jacket sleeve has quite a nice shape with the outer back sleeve being slightly longer than the inner front sleeve.


Working with my small remnant of grey wool I added as much sleeve length as possible to P's version: which was barely 2cm extra length. It's just long enough for monkey boy this year but I suspect it will be "bracelet" length before too long.

Both jackets look really great on the kids and I'm pretty pleased to have used up some odd bits of stashed fabric and to have finally had a play with these awesome ribbings.

The ribbing weight is perfect for jackets - similar to what is often described as 2x2 ribbing. It's hard to photograph, but the pale gold is really lovely. I worried it might be a bit girly for P but he adores his blingy gold jacket :)


I stitched the labels on by machine so that the stitching is through all fabric layers - just in case my hand stitching of the lining at the neckline wasn't secure enough.


We were on our way down to the fruit and veg market and stopped at the local university campus where there's this lovely mural of birds - I mention this one because it's the red wattlebird and at this time of year it (or its other wattlebird species relatives) is the nemesis of every Melbournian who might like to sleep past 5am.

At our house it's known as the "hoo ha hee ha" bird as its call sounds like that, over and over again.
Here's a audio of the "Melbourne alarm clock bird" and , if you don't mind bad language, a very funny discussion about how to try and live with them (because you can't kill them).

Details:
Pattern: McCalls M7619
Fabric: A - fake snakeskin pleather, bemberg lining. P - wool coating, fleece interfacing, rayon lining
Size: A - straight size 8. P - size 10 with 2cm extra sleeve length
Modifications: Cut neckband to suit ribbing width
Notions: Ribbing from Maaidesign. Zippers from Jimmy's Buttons. Patches: Spotlight and Eliza's